<< Home
1. Creating a Character Rig using Maya 2008 software.
2. Binding the Character Rig to the game character’s mesh.
3. Creating an animated walk Cycle
4. Creating textures for the game model
5. Creating an environment, baking shadows & illumination to a texture map.
6. Exporting game characters to a file format for a game engine
7. Importing characters into a 3-D game engine.
8. Controlling characters using data from input device.
9. Adding environment to the game.
|
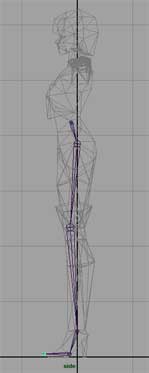
The process of creating joints is a fairly simple process when using Maya's “Joint Tool”. The way that Maya’s joints work are similar to the way in which the joints of a human skeletion work. For example, look at your knee as you are sitting. Now, lift your foot and swing it back and forth. As you can see, your knee acts as a rotational and transitional pivot for the joints beneath it (In this case, the ankle, ball of the foot, and toe joints). Maya's joints work in a similar way as you will see when we create joints for our leg:
1. Click on the viewport labeled “side” with your “right mouse button”. After doing so, hit the “space bar” on your keyboard. This maximizes the side viewport so that we can get a better look at what we are doing.
2. Look in the top left and corner of our work area and insure that “Animation” is selected as our current menu set.  If not, simply click on the small arrow that's on the right hand side of the box and choose “Animation” from the drop-down menu that appears. The top menu will change accordingly. If not, simply click on the small arrow that's on the right hand side of the box and choose “Animation” from the drop-down menu that appears. The top menu will change accordingly.
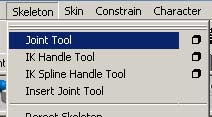
3. Next, go to the top menu and click on “Skeleton”. After the drop-down menu appears, find “joint tool” and click on it. You will notice that our pointer turns from an arrow into a cross-hair like icon . .
4. Locate the hip area of the character and click there once to create a joint. Since this is also our first joint created in our skeleton, it is also refered to as the “root” of the skeleton.
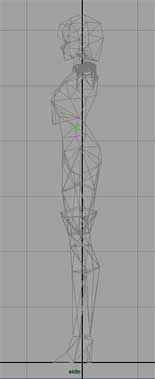
5. Look down slightly and find the area below the hip in which the thigh will rotate. Click there to create another joint. Notice that a cone-like object now connecting the hip and the thigh joint that we just created. This is called the “bone”. And in this instance, our “hip bone”.
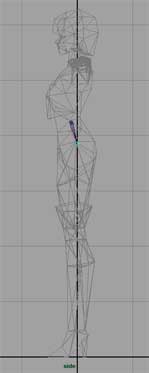
6. Find the area in which the knee will bend and click in that area to create a joint for the knee.
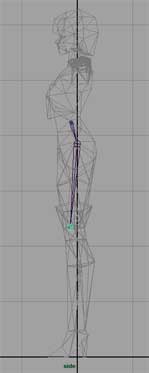
7. Next, find the ankle area and click to plant the ankle joint.
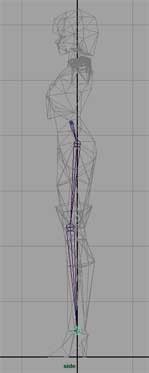
8. Do the same for the ball of the foot.
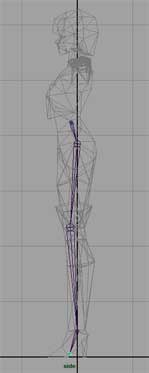
9. This last joint is basically created on the outside of the foot as an extension of the ball bone. Hold down your “shift” key, and while holding “shift”, click in the area just outside of the foot. Holding the “shift” key kept the newly created joint vertically aligned with the previous created “ball” joint.
10. While inside of the “side” viewport, press “space” on your keyboard to minimize this view and reveal all four viewports.
11. Click inside of the “front” viewport and press the spacebar to maximise the “front” view. Notice that the joints are all centered on the x-axis. This placement is fine for the “root joint”, but we must move the “leftHip” joint into it’s proper position.
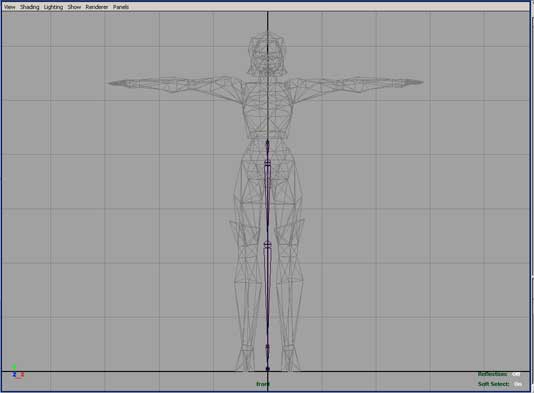
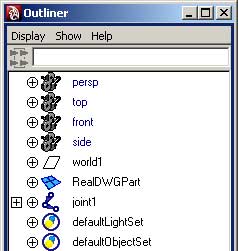
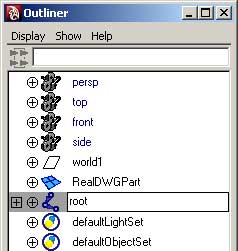
12. Look at the “top menu” and click on “window”. After doing so, click on “Outliner”. This brings up an outlined view of the objects in our scene. There is a joint called “joint1” which is the first joint we created. Double-click on it's name and rename it to “root”.
13. You're probably wondering, “where are the other joints?”. They are all here, but in order to see them we must “reveal them by clicking on the square “+” button to the far left of the joint icon  . Click on it now. It reveals the next bone in the heirarchy and . Click on it now. It reveals the next bone in the heirarchy and
turns into a square “-” button  . .
Continue clicking the “+” box buttons near the newly revealed joints until they are all revealed.
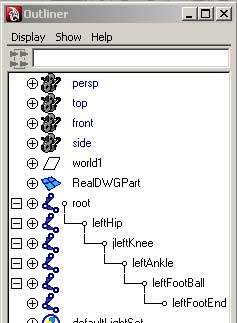
14. Using outline, let's rename each joint as so:
“joint2” -> “leftHip”
“joint3” -> “leftKnee”
“joint4” -> “leftAnkle”
“joint5” -> “leftFootBall”
“joint6” -> “leftFootEnd”
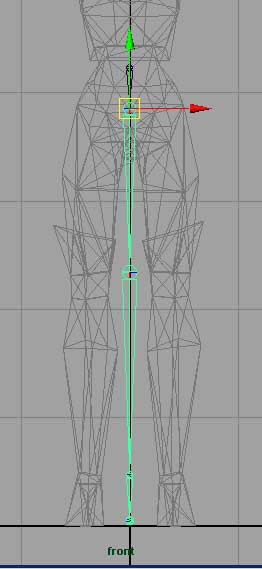
15. Now it's time to move the “leftHip” joint outwards, as we move it, all the joints beneath it in heirarchy will move along with it.
Click on the “leftHip” joint in the “Outliner” panel and click on the “Move tool” located on the far-left toolbar.
Notice that a green vertical arrow and a red horizontal arrow appears near the “leftHip” joint on the viewport. Move the joint to the right using the red horizontal arrow until it’s in the center of the leg.
16. Release your mouse button and click on the “arrow” icon in the far left toolbar to return to “select” mode  . This tool is called the “Select tool”. . This tool is called the “Select tool”.
Now let's move on to the spine and arms. Part 3 >> |