<< Home
1. Creating a Character Rig using Maya 2008 software.
2. Binding the Character Rig to the game character’s mesh.
3. Creating an animated walk Cycle
4. Creating textures for the game model
5. Creating an environment, baking shadows & illumination to a texture map.
6. Exporting game characters to a file format for a game engine
7. Importing characters into a 3-D game engine.
8. Controlling characters using data from input device.
9. Adding environment to the game.
|
At first glance, it seems that the upper body will be pretty tricky to build. As we continue to build our rig, you will quickly see that this is not the case.
1. Switch to the “side” viewport and use the “Select Tool” to select the “Root” joint.
2. Use the Joint tool (Top Menu -> Skeleton -> Joint Tool) to create a joint directly above the hip.
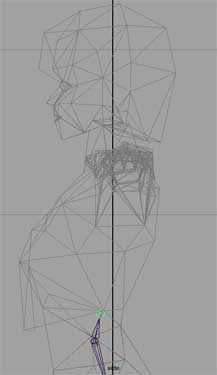
Note: A small bone appears between the hip and new spine joint. This is because any joint that is created after selecting a joint, automatically becomes a “child” of the previous joint.
3. Create 3 more spine joints until you reach the base of the neck area. Create one Joint for the neck and one directly above the head.
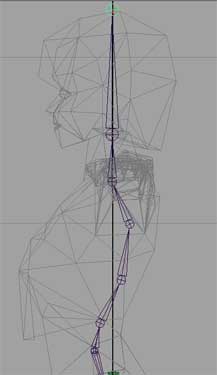
4. Use the “Outliner” panel, rename the joints as follows:
“joint1” -> “spine01”
“joint2” -> “spine02”
“joint3” -> “spine03”
“joint4” -> “neck”
“joint5” -> “head”
“joint6” -> “headEnd”
5. Switch to the “top” viewport, select the “neck” joint, and use the “Joint Tool” to create a shoulder joint in the character's shoulder area.
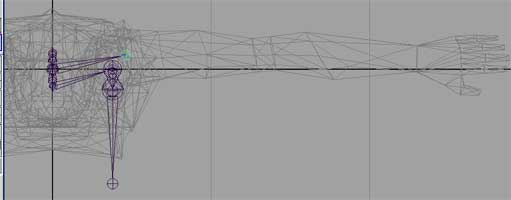
6. Create a joint for the elbow, a joint for the wrist, and an additional joint on the outside of the finger area using this same view.
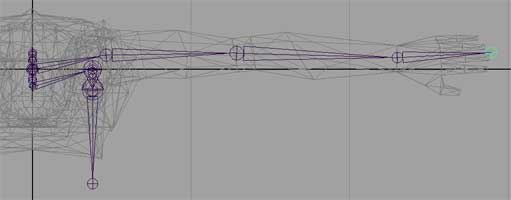
7. Using the “Outliner” panel, rename the joints as follows:
“joint1” -> “leftShoulder”
“joint2” -> “leftElbow”
“joint3” -> “leftWrist”
“joint4” -> “leftWristEnd”
8. Switch to the front view , select the “leftShoulder” bone and use the Move Tool (Left Toolbar) to move the arm up into the correct position.
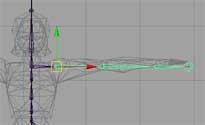 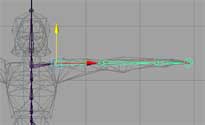
9. Okay, we have spent a lot of time creating the left hand side of the character. Even though we can repeat the previous steps to create joints on the right-hand side of the skeleton, there is a faster way. Select the ”leftHip” bone. The joints of the entire left leg should now be highlighted in the viewport.
10. Click on the “Mirror Joint Tool Options Box” (Top Menu -> Skeleton -> Mirror Joint -> “small square Icon on right” ) . This displays the controls for our Mirror Joint Tool. ) . This displays the controls for our Mirror Joint Tool.
11. Ensure that “YZ” is selected for “Mirror across” and that “Orientation” is selected for the “Mirror Function”.

12. Now here's the best part of using this tool, “Replacement Names”. Remember that the beginning of each joint name for each joint that appears on the “left” side of the skeleton begins with the word “left” . The Mirror tool not only duplicates bones from one side of the x-axis to the other, but it also RENAMES each bone according to the strings we supply in these two fields. In our case we want to change “left” to “right”.
Knowing this, supply the “Search for” field with the word “left” and supply the “Replace with field with “right”.

13. Click on The “Mirror” button below and you will see in the “front” viewport that our leg has just been duplicated to the left side of the x-axis.
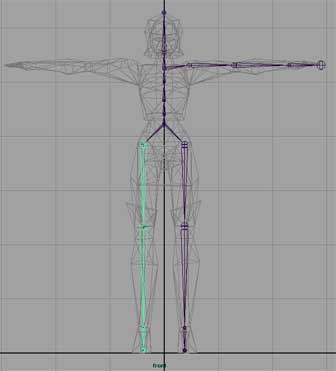
14. Select the “leftShoulder” joint and click on the Mirror tool (Not the Mirror Tool Options box)
The arm is also duplicated and renamed accordingly.
Note: Once the Options are set for a tool, the tool can be used again and again until the Options for that tool need to be changed. Thus we only needed to acces the Mirror Tool via the Top Menu instead of accessing it's Options again.
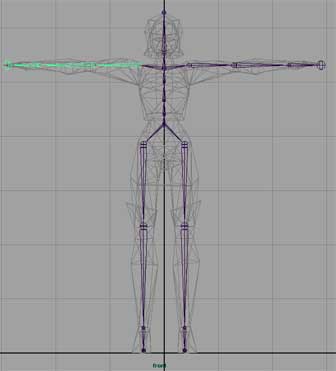
Now that we have a basic skeleton set up, we can now proceed to creating controls for our rig. Step 4 >> |